Our Stamped Process
STAMPED PROCESS
There are a lot of steps involved in stamping concrete, and only a short window of time in which to get them done. Unlike when applying a decorative coating or stain to hardened concrete, crews need to complete the entire stamping process before the fresh concrete sets. To do the job successfully, we are very experienced, organized, and well prepared. We diagram the stamping layout in advance, and have the stamping tools and experienced employees needed no matter the size of the job.
Decorative concrete can be stronger and more environmentally resistant than ordinary concrete, due to improved surface hardeners, and clear-coat sealers. With the many improvements in materials and processes, decorative concrete is more durable, affordable, and esthetically valuable to your home than ever before.
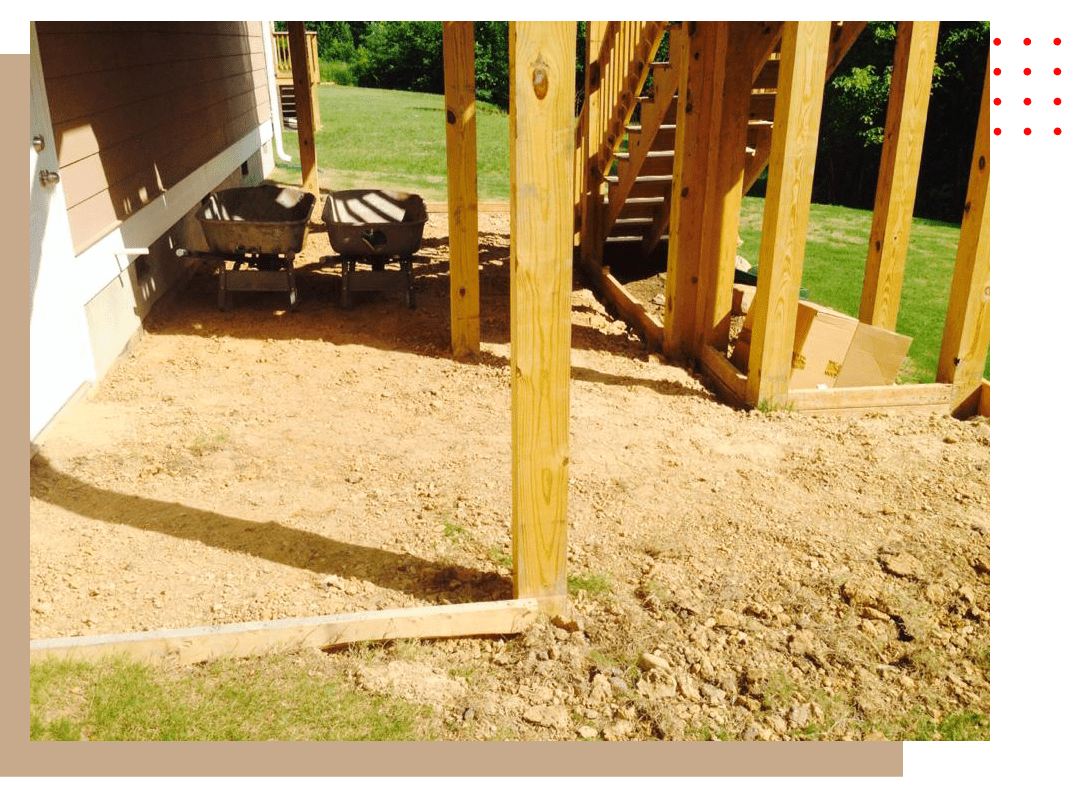
The first part of the process is laying a crushed-stone base. Flexible forms are then placed around the designated area, creating the shape of the design. Once these forms are in place, the crushed stone is re-graded, to ensure the concrete will pour to a full four-inch thickness for patios and sidewalks (five inches for driveways). Next, a grid of rebar is put in place to further strengthen and support the concrete.
Once all of the set-up completed, the concrete is poured into place.
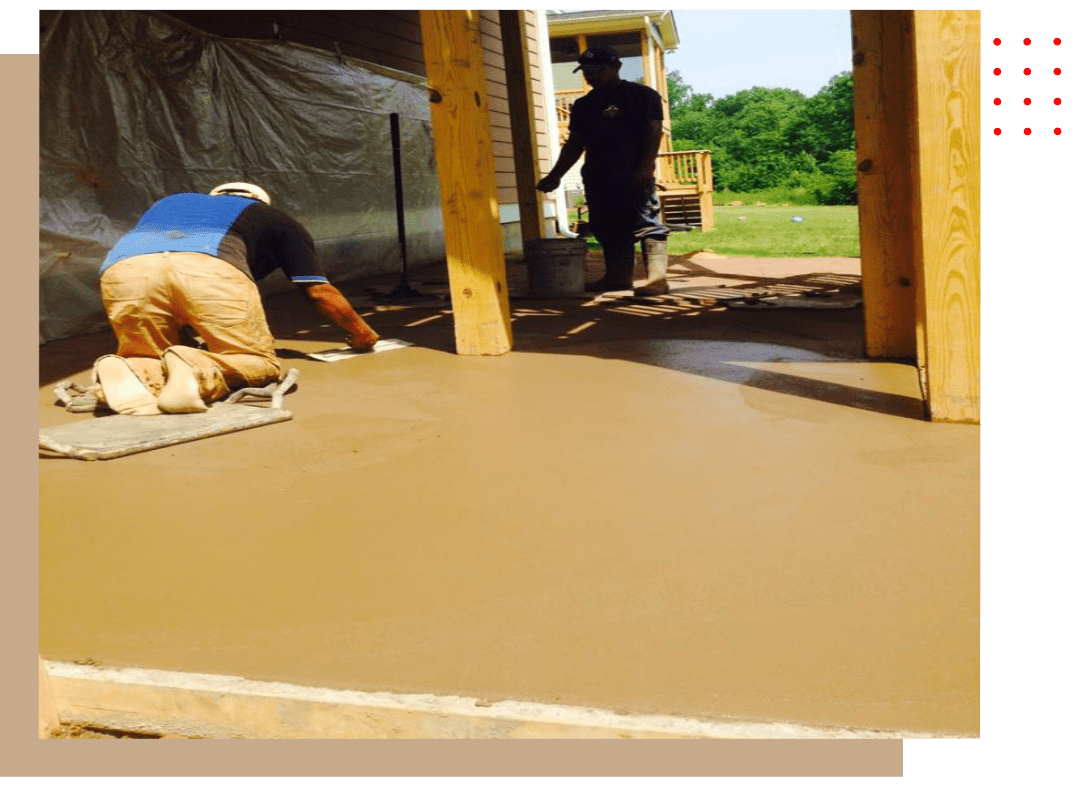
There are basically two methods of applying color to concrete. The first is integral color, where the color is added right in the cement mixer, giving the cement a solid color all the way through. Although this method is a bit more costly, it is a good option for projects that are at risk of minor chippings – such as driveways that are cleared with a snow plow in the winter.
The second (and most popular) method is the dry-shake method. After the concrete is poured and prepped, a dry powder (color hardener) is applied to the surface. The hardener is massaged into the concrete, and the process is repeated several times to ensure proper penetration. Not only does the color hardener tint the concrete, but it also increases the surface strength significantly.
Regardless of the primary coloring method, the concrete is allowed to harden a bit. At this point, a secondary color can be added via a release agent in powder form – a method very similar to the dry shake. With the use of additional colors, a striking three-dimensional and natural look can be achieved.
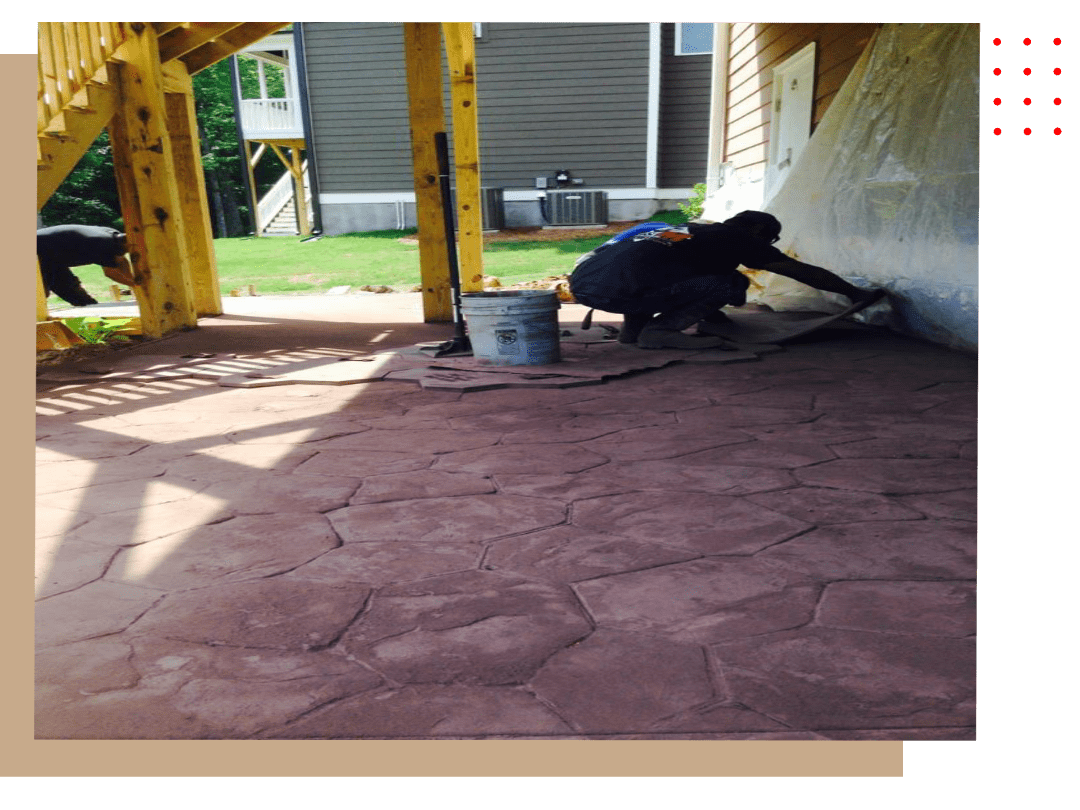
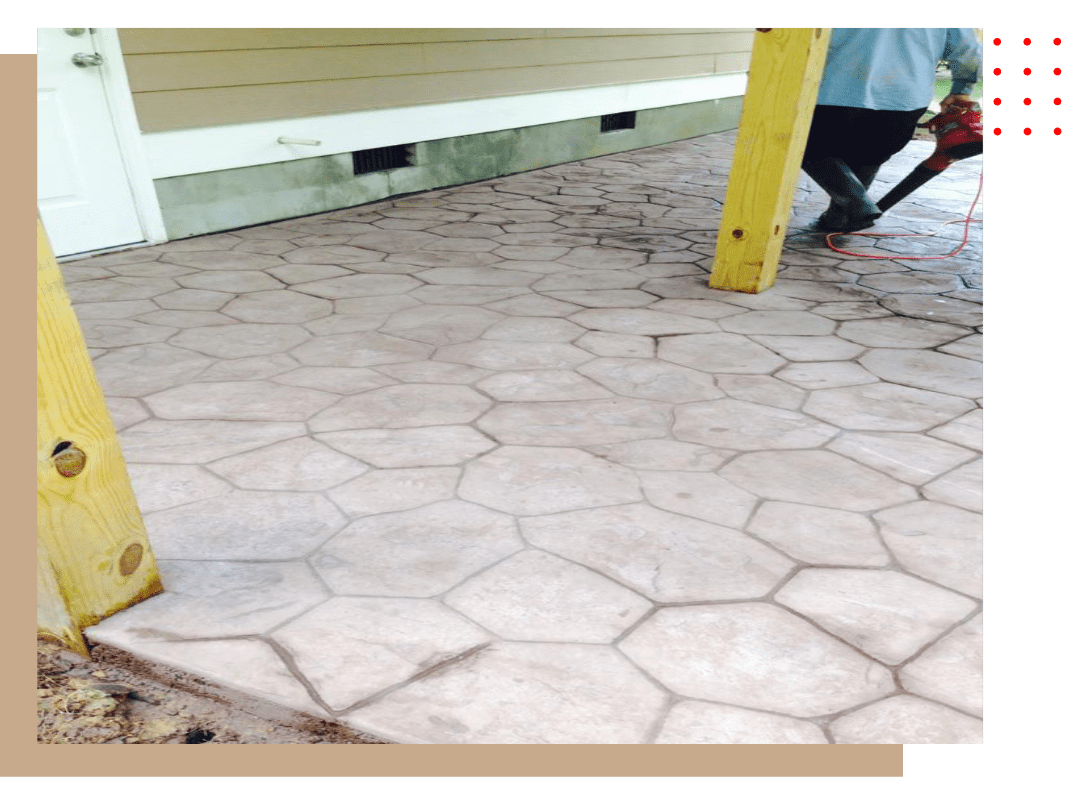
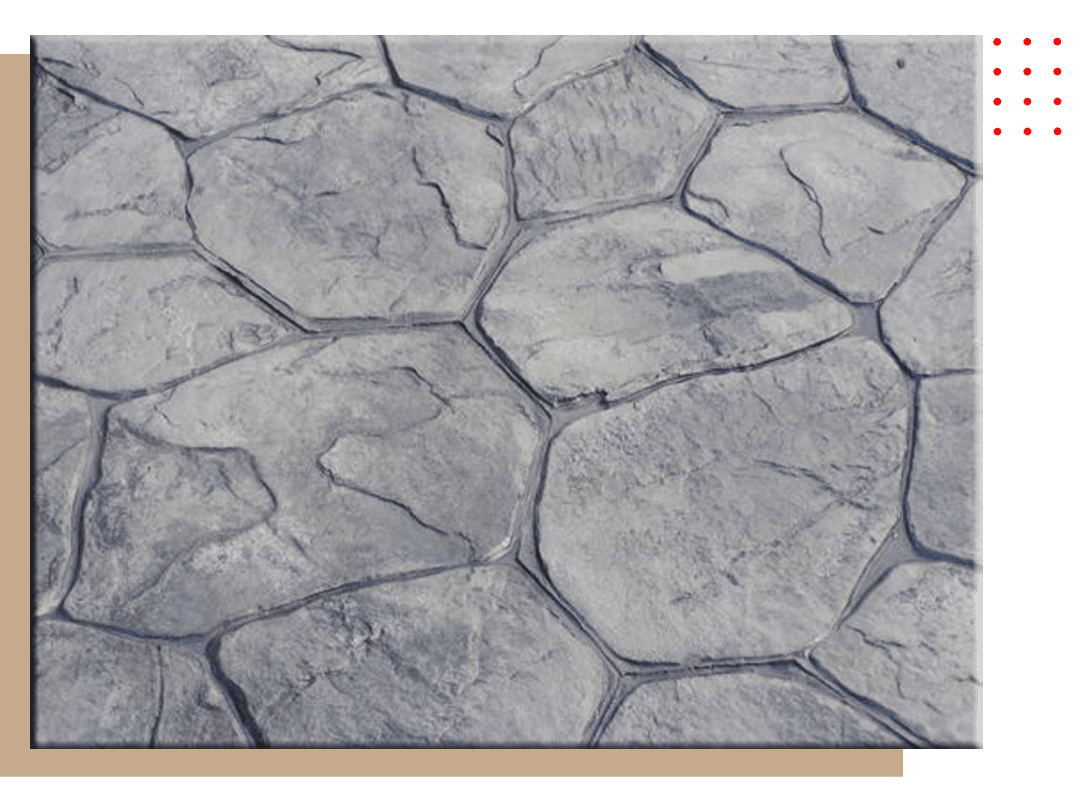
Now the project is ready to be stamped. Our professional installers begin by placing a series of stamping tools over the project. They carefully press the stamps into the colored concrete, creating the pattern and texture of the design. The stamps are immediately removed, and the project is left to cure overnight.
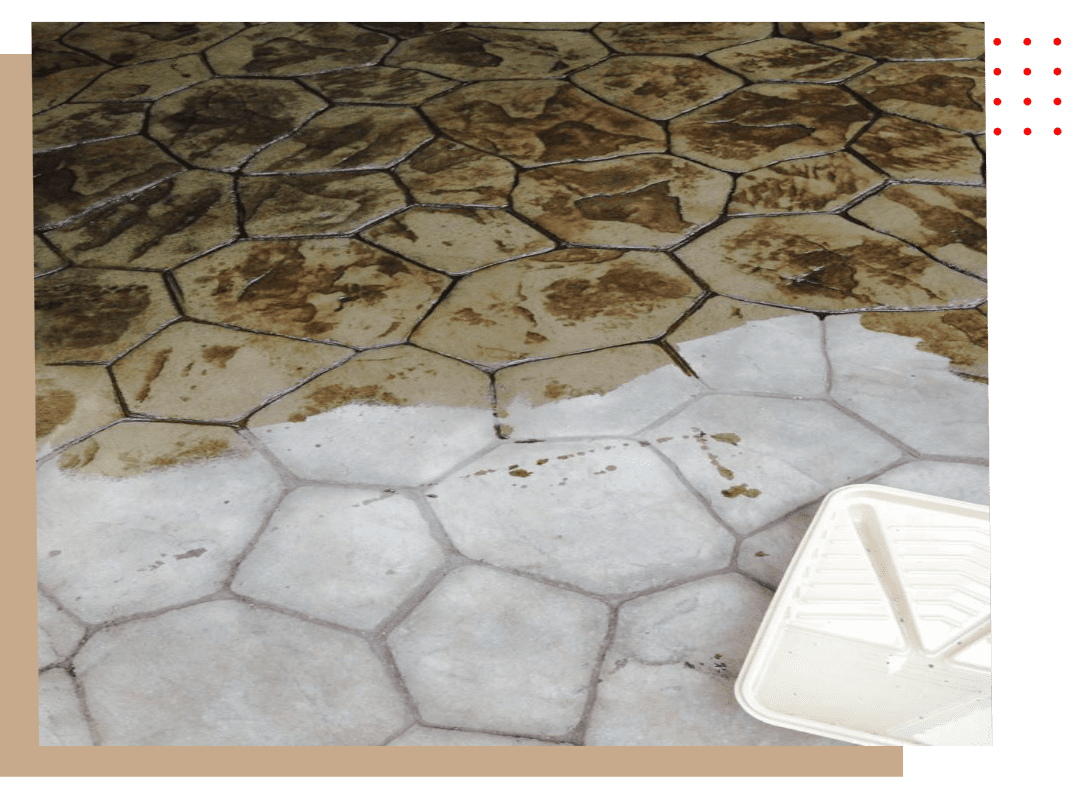
The next day, the slab is power-washed to remove the excess color hardener or release that will still be present. Then the concrete is left to cure for several more days. Finally, a clear coat sealer designed specifically for outdoor stamped concrete is applied. In this sealer, a sandy material called Shark Grip is added. This gives the surface just enough traction to avoid any unwanted slippery areas.
Now that the design is complete, we must saw control joints, to control the cracking of all concrete experiences due to the natural expansion and contraction of the material.
